Why not try this on a Google Form?
In this tutorial we will be using the same code which was used in the previous tutorial to send an email, and tweak it so that we can send a text response to a Google Form.
Create a simple form in Google Drive with a single a Question to receive short TEXT responses.
After creating the Google Form, Click “Send” at the top of the form and select the send option with a link icon. This is the sharable link to the Google Form.
Then navigate to the form through the link, to submit a response.
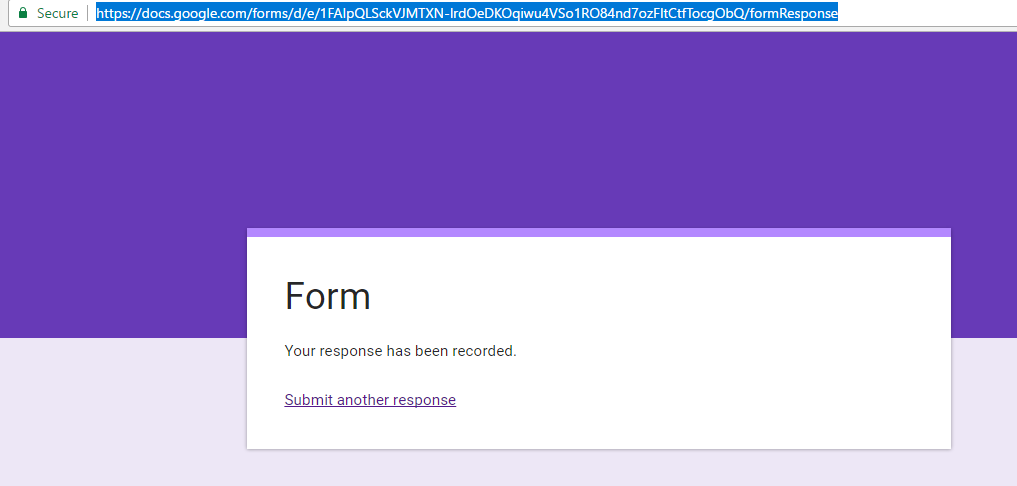
Next you will be directed to a page which gives a success message. Copy the URL of this page as shown in the given picture.
Then visit PushingBox.com, select My services and choose CustomURL from the displayed list.
- Give a name of your choice to the CustomURL configuration.
- Paste the copied URL previously, under Root URL.
- Leave the method as GET and submit.
Select My Scenarios and add a Scenario as shown below.
Just like you did in the second tutorial, Save the DeviceID given for this scenario in a text file and select Add an Action.
Then the following dialogue box will pop up asking you to fill a data field.
(Note that when the dialog box pops up, the data field will not have the value that we’ll be using)
To give the right value to this, you need to go back to the form using the link of the form. (This is the publically sharable link of the Form. Not the URL of the page through which you have admin access to the form)
Once you go back to the form following the above link, right click and select inspect elements. Find the “textarea” form element and get the key of the element.
(The excerpt highlighted in yellow)
The following line of code is standard piece of code which you will be using for your data field. Edit the it with YOUR OWN unique key, copy it and paste it on the data field and click submit.
?entry.410351918=$status$&submit=Submit
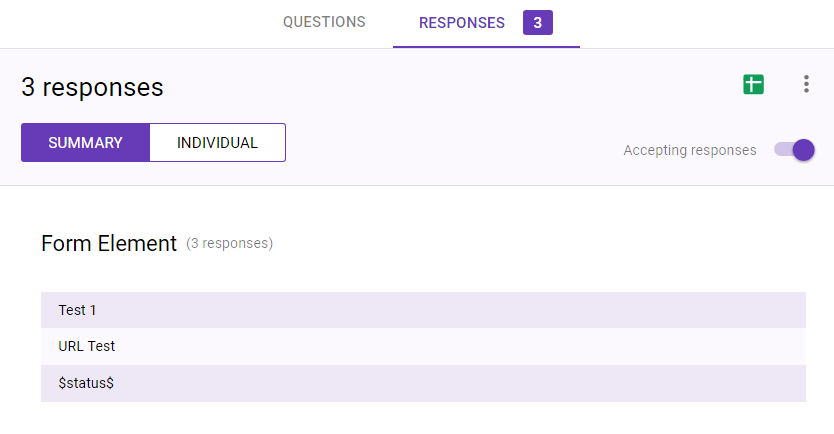
Once this is submitted you can select Test scenario from the page that loads next, to test if it works fine. Form will receive “$status$” as a response.
Else if you want manually test the functionality of the scenario, you can use the following URL.
(Here the value after devid is the, ID you saved in the text file earlier)
Now, the Arduino Code we previously used has one line to be
changed. That is the String variable request shown below.
The String variable request line should be changed to the
one at the bottom instead of the one at the top. And like I said before, the
devid should be the one you saved in a text file earlier.
After making the above changes, compile the code and upload it
to the Arduino Board just like you did in the previous Tutorial. You will see
the Google form getting updated accordingly!
See? Nothing is difficult with PushingBox!
This concludes the mini tutorial series on the ESP8266 Wi-Fi
module. I hope you were able to learn more about it and that you can start your
own projects using the module.
Thank You! :D


Comments
Post a Comment